On this page
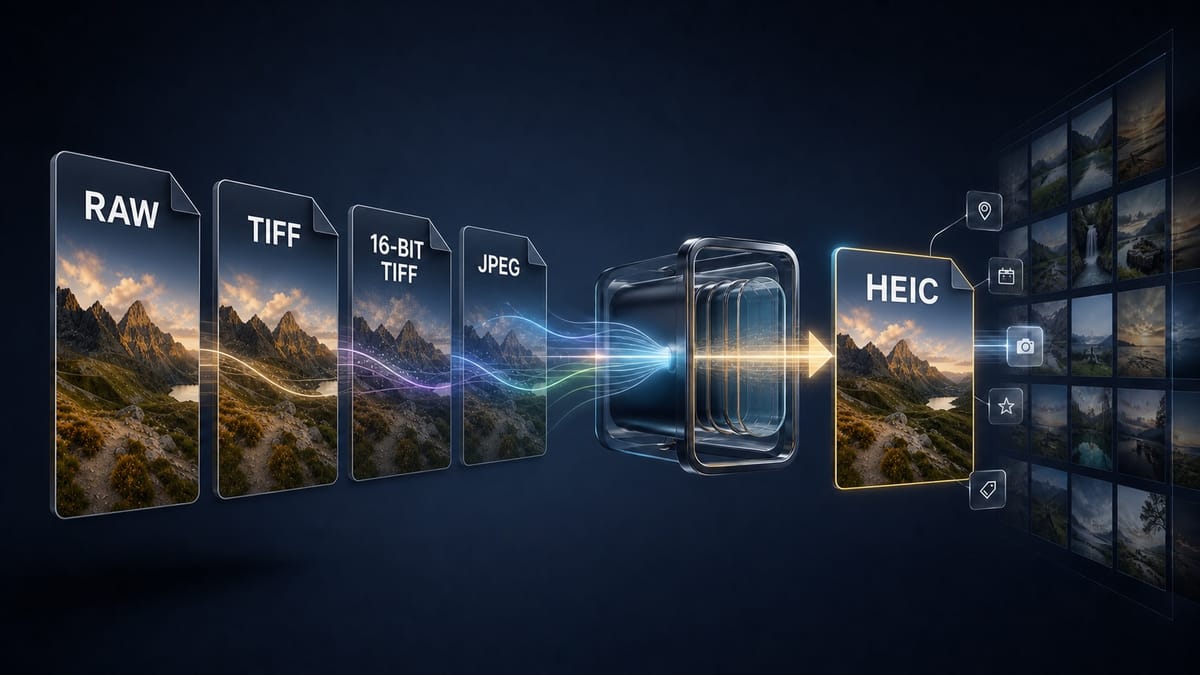
Photography has been a serious part of my life for years, and I have built a large RAW photo library along the way. My usual workflow is to edit in Lightroom Classic, export the finished images to iCloud, and share them with family and friends.
The problem was storage. High-quality JPEG exports were steadily consuming my iCloud allowance. I wanted HEIC’s smaller files and excellent image quality without adding a manual conversion step after every export. What I needed was a native HEIC exporter built directly into Lightroom Classic. That became the motivation for modernizing LRExportHEIC.
Lightroom Classic on macOS still does not offer the HEIC export workflow I want: edit a RAW file, export through Apple’s native encoder, preserve the metadata, optionally add the result to Apple Photos, and clean up automatically.
That gap is why I modernized LRExportHEIC, an open-source Lightroom Classic export plugin for macOS.
The project was originally created by Manu Wallner. Version 2 builds directly on Manu’s Lightroom plugin, Swift encoder, quality-search logic, release automation, and original design. The original repository remains available here.
The purpose
The target workflow is simple:
RAW → Lightroom edits → HEIC → Apple’s native encoder → preserved metadata → optional Apple Photos import → automatic cleanup
HEIC is a natural delivery format for people who work across a Mac, iPhone, iPad, and Apple Photos. It supports excellent image quality, high bit depth, modern compression, embedded color profiles, and rich metadata without relying on ImageMagick, ffmpeg, or another external encoder.
How it works
Lightroom renders the edited image to a temporary TIFF. The plugin passes that TIFF to a native Swift command-line tool. The tool uses Apple’s Core Image, Core Graphics, and ImageIO frameworks to encode HEIC, merges the metadata into the final container, verifies the result, and atomically installs the destination file.
If Apple Photos import is enabled, PhotoKit imports the HEIC after encoding succeeds. A SHA-256 content ledger prevents the same file from being imported repeatedly. Temporary files are deleted only after the final HEIC exists and Lightroom has accepted the completed rendition.
What changed in version 2
- Modern Swift: Swift 6, strict concurrency checks, typed command-line options, current Apple APIs, and no third-party runtime dependencies.
- Native 8-bit and 10-bit HEIC: both modes use Apple’s HEIC encoder, including HEVC Main 10 output for 10-bit exports.
- Metadata preservation: ImageIO performs a lossless container metadata merge and the tool verifies the written result.
- Color management: the output keeps its ICC profile and supports Lightroom’s exported color-space choices.
- Parallel batches: Lightroom can convert several files at once with bounded parallelism based on the selected worker count.
- Apple Photos: optional PhotoKit import with permission handling and duplicate detection.
- Safe cleanup: plugin-owned temporary TIFFs are removed only after successful conversion and Lightroom acknowledgement.
- Safer files: atomic destination writes, explicit existing-file handling, and protection against deleting originals.
- Structured logging: per-process JSONL logs record starts, finishes, errors, timings, metadata counts, Photos results, the Lightroom version, and the macOS version.
- Remembered settings: quality, bit depth, Photos import, cleanup, parallelism, and log level persist between exports.
- Better errors: disk-full conditions, permission problems, invalid images, encoding failures, metadata failures, existing destinations, and Photos denial return actionable errors instead of crashes.
Metadata preservation
The main goal was not merely to make a HEIC file. It was to keep what Lightroom exported.
The pipeline covers EXIF, IPTC, XMP, GPS, keywords, caption, title, copyright, creator, rating, label, orientation, ICC profiles, dates and times, lens data, camera data, serial numbers, and Lightroom-specific namespaces supplied in the rendered source.
Automated tests cover metadata and GPS alongside JPEG, TIFF, 16-bit TIFF, 8-bit HEIC, 10-bit HEIC, Unicode paths, emoji, long paths, concurrent batches, quality search, ICC profiles, and Photos duplicate detection.
Reliability and verification
I tested the complete pipeline with a 20-image batch in Lightroom Classic 15.5 on macOS 27 beta. The batch produced valid 10-bit HEIC images, preserved the source metadata namespaces, removed the temporary TIFFs, and completed PhotoKit import.
The automated suite contains nine tests, the release builds as a universal arm64 and x86_64 plugin, and GitHub Actions verifies every push.
I also fixed the false Lightroom failure dialog found during the real batch test. Lightroom was being told the export had completed after its temporary TIFF had already been deleted. Cleanup now happens only after renditionIsDone, which respects Lightroom’s lifecycle.
The strange .jpg limitation
Lightroom Classic 15.5 still gives post-processing filters a destination path ending in .jpg. I verified this experimentally rather than assuming the old documentation was still correct.
The resulting file contains real HEIC data. In 10-bit mode it is a genuine HEVC Main 10 image, even though Lightroom supplied the filename extension. This compatibility behavior remains documented as a known limitation.
Installation
You need macOS 13 or later, Lightroom Classic, Git, and the full Xcode installation with its licence accepted.
Install or update LRExportHEIC with one command:
curl -fsSL https://raw.githubusercontent.com/tural-ali/LRExportHEIC/main/install.sh | /bin/bashThe installer builds a universal arm64 and x86_64 plugin and places it in Lightroom Classic's per-user Modules folder. Restart Lightroom Classic when it finishes.
You can review the installer source before running it. Manual installation is also documented in the repository.
Using the plugin
- Select photos and open Lightroom’s Export dialog.
- Under Post-Process Actions, select Export HEIC and click Insert.
- Choose quality, color space, 8-bit or 10-bit output, Photos import, cleanup, parallelism, and logging.
- Keep Lightroom’s Metadata section set to the fields you want included.
- Click Export.
Logs are written to ~/Library/Logs/LRExportHEIC/ if you need to inspect timings or diagnose a failed image.
Open source
The code, documentation, architecture audit, migration guide, changelog, installation guide, tests, and known limitations are public under the MIT licence:
github.com/tural-ali/LRExportHEIC
The project is usable now, but version 2 is still under active development. Test it with your workflow before relying on it for irreplaceable exports, and open a GitHub issue if Lightroom or macOS behaves differently on your system.
Newsletter
Get new posts by email
One email when something new goes up. Unsubscribe any time.
Discussion